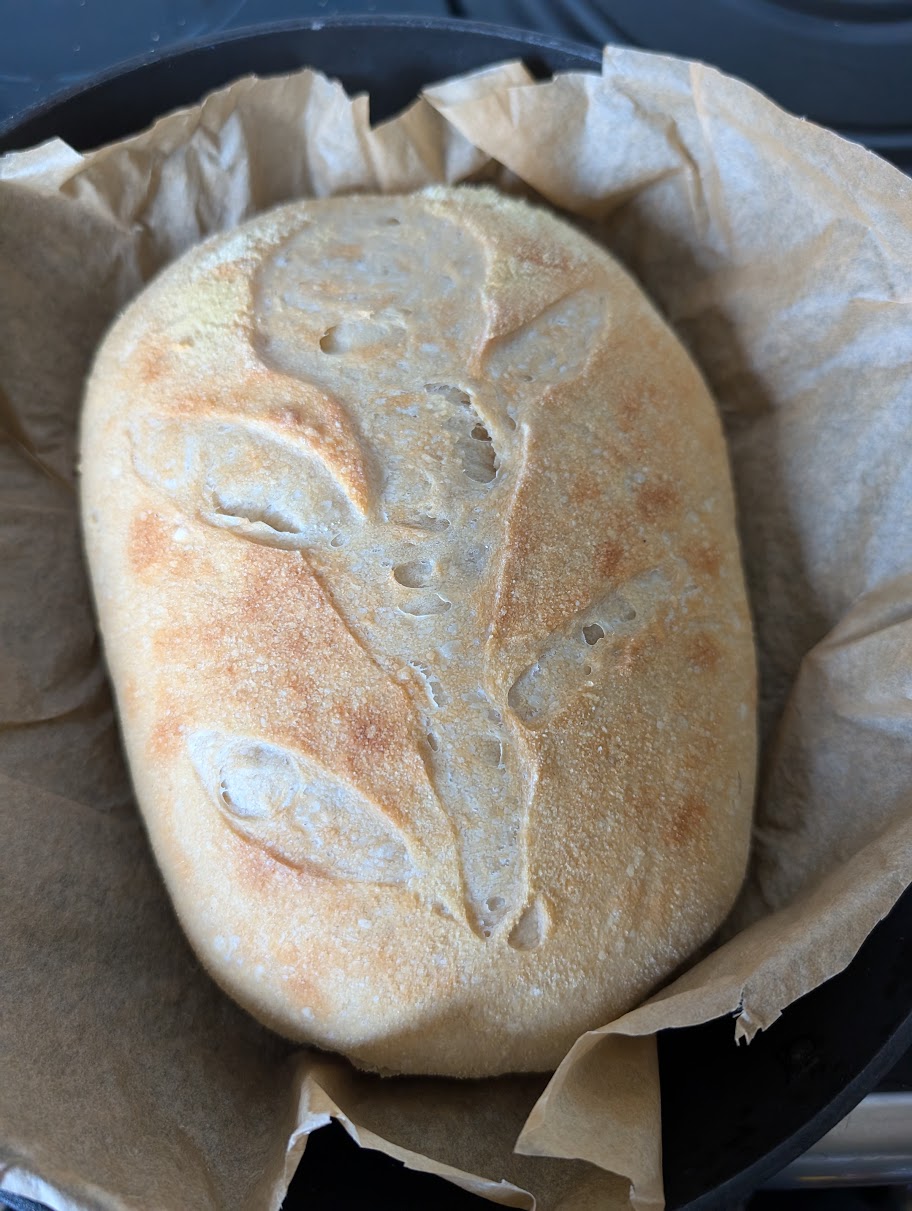
I was lucky enough to be gifted with a set of breadmaking equipment and a fantastic sourdough starter for a big birthday, and since then I’ve been regularly making loaves to both gift and enjoy. The process takes time, which I rather like, given the fast-paced nature of life these days.
Caring for your Starter
Each day care for your starter by discarding half the starter – you can use this for pancakes or other products, followed by feeding the starter with 40 grams of Strong White (Bread) Flour and 40 ml of room temperature water.
TIP: Use room temperature water and ideally water which has been sitting for a little while to let the chlorine disperse.
Ingredients
- 50 g Sourdough Starter
- 350g Water
- 500g Strong White Flour
- 9g Flaked / Course Sea Salt
- Fine Semolina, for dusting
Equipment
- Large Mixing Bowl
- Tea Towel
- Large lid, shower cap or clingfilm to cover the bowl
- Dough Scraper
- Baking Parchment
- (Optional) Banneton
- Lame (careful with the blade!) or Sharp Knife
- Enamel Roaster (with lid) or Deep Cast Iron Casserole Dish
- (Optional) Water Spray Bottle
- Cooling Rack
Method
- Start at least one hour before bed.
- Measure 50g starter (it should be very bubbly) into a large mixing bowl.
- Add 350g of room temperature water.
- Add 500g Strong White Flour.
- Add 9g Salt.
- Mix together with a clean hand until combined. Clean off any excess dough from your hand.
- Cover the bowl with a clean tea towel and leave to rest for 30 minutes.
- Uncover and knead for around a minute.
- Cover the bowl with a lid, shower cap, or cling film (leave a bit of space for expansion).
- Leave to rest overnight.
- Dust your worktop with fine semolina. (You can use flour, but be careful as this can dry things out too much).
- Using a flat spatula / dough scraper, scrape under the right side of the dough, stretch it up and fold over the middle.
- Repeat with the left side of the dough.
- Repeat with the bottom side of the dough.
- Repeat with the top side of the dough.
- This should enclose the sticky centre, leaving you with a semolina coated outside, which is much easier to handle.
- Form into a loose ball.
- Dust with semolina.
- Cover and leave to rest for 15 minutes.
- Shape your loaf by pinching up from each side into the centre to form a seam and an oval / circular loaf.
- Pre-heat your oven to 230°C (with fan).
- If you have a banneton:
- Dust with semolina.
- Gently transfer to the (fabric) lined banneton seam side up.
- Leave to prove for 30-60 minutes.
- Gently turn out onto a sheet of baking parchment, seam side down.
- If you don’t have a banneton:
- Gently transfer to a sheet of baking parchment, seam side down.
- Leave to prove for 30-60 minutes.
- Using a lame or sharp knife, score the bread. A single centre slash is standard, but you can experiment with designs.
- Lift the sides of the baking parchment and lower into your roaster / casserole dish.
- Spritz with Water.
- Cover with the lid and place in the oven. Reduce the temperature to 230°C (with fan).
- Bake for 20-25 minutes.
- Remove the lid from the pot – beware of hot steam! The loaf should be well risen and starting to brown.
- Return to the oven (uncovered) for a further 15-20 minutes.
- Remove from the oven and place the loaf on a cooling rack.
- Allow to cool completely before slicing.
